
How to Fix a Dripping Tap: Washer and Ceramic Disc Taps
By Emergency Plumb,
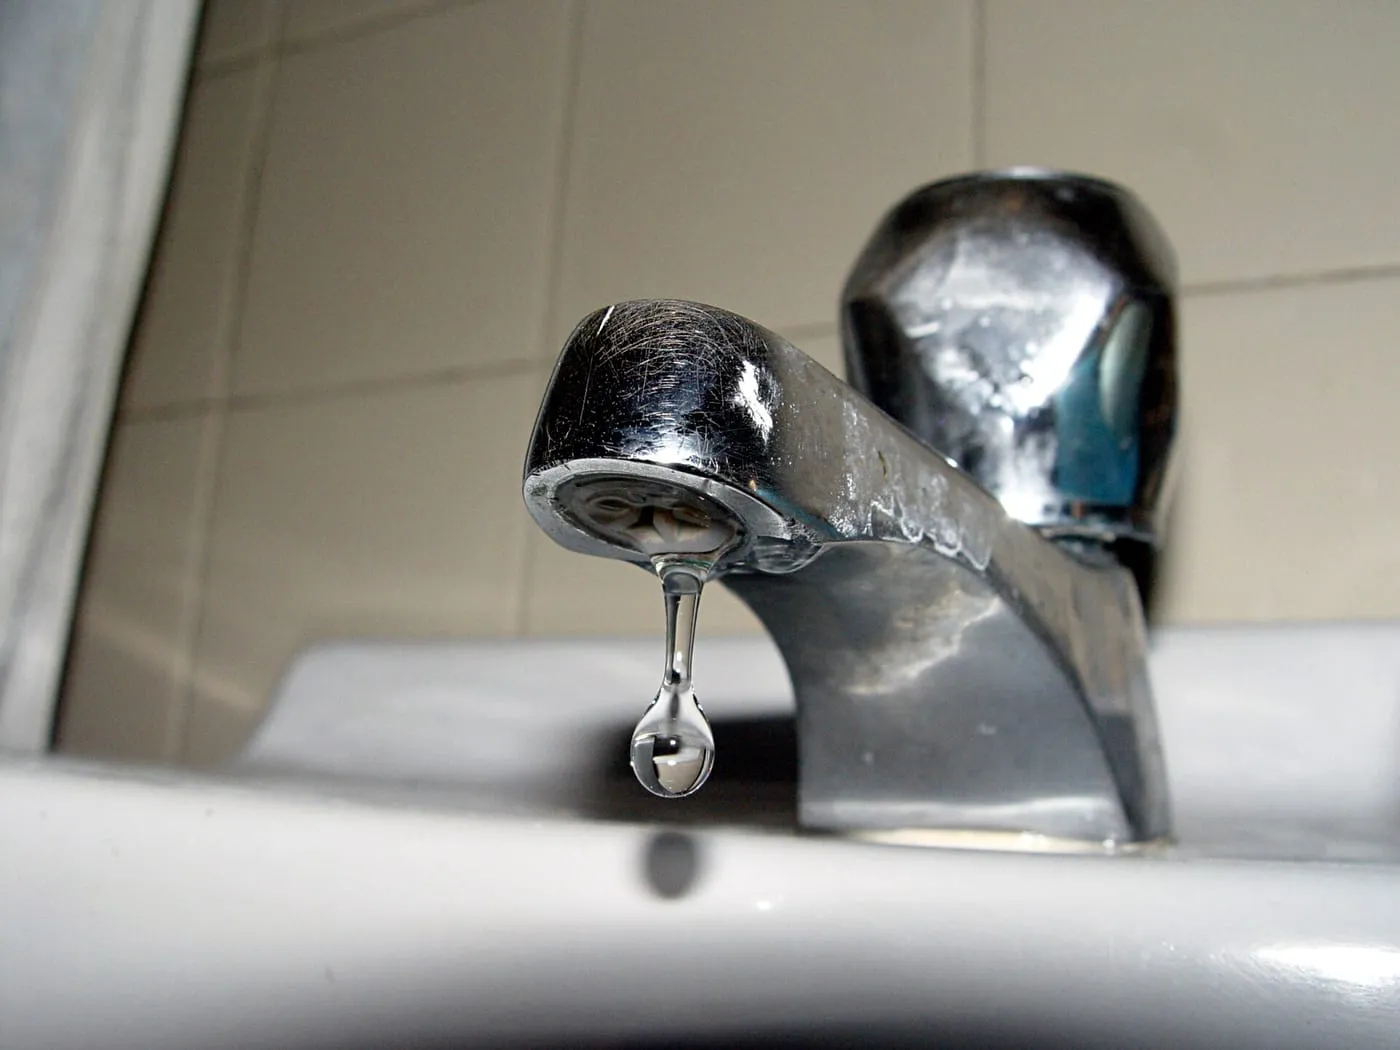

A dripping tap is usually a worn washer or a worn cartridge.
Short answer: Turn off the water at the isolation valve under the sink or at the stopcock, then take the tap apart. On an older tap that turns several times, replace the rubber washer. On a quarter-turn tap, replace the ceramic disc cartridge, matching the old one exactly. If a new washer does not stop the drip, the valve seat is worn.
How do you fix a dripping tap?
Turn off the water to the tap, take the tap apart, and replace the worn part inside. On an older tap that turns several times to open, the worn part is a rubber washer. On a modern tap that turns only a quarter or half turn, it is a ceramic disc cartridge. Both jobs need only basic tools and take about thirty minutes once you know which tap you have.
Washer tap or ceramic disc tap: which do you have?
Open the tap from fully off to fully on and count the turns. If the handle spins round more than once, it is a washer tap, sometimes called a compression tap. Inside, a rubber washer is pressed down onto a brass seat to stop the water. Over time the rubber hardens and splits, and water sneaks past. If the handle stops after a quarter or half turn, it is a ceramic disc tap, also called a quarter-turn tap. Inside is a cartridge with two ceramic discs that slide over each other. When grit scratches them, or the seals age, the tap drips. Single-lever mixer taps almost always use a cartridge too.
How to turn the water off to a tap
Look under the sink or basin for a small valve on each pipe feeding the tap. This is an isolation valve. Use a flat screwdriver to turn the slot a quarter turn so it sits across the pipe, not along it. That shuts the water off to that tap only. If there is no isolation valve, or it will not turn, close the main stopcock instead. In most London homes it is under the kitchen sink, but it can be in a cupboard, under the stairs or under a floorboard by the front door. Once the water is off, open the tap to let the last of it run out. Put the plug in so no small parts drop down the plughole, and lay a towel in the sink to protect it.
How to fix a dripping washer tap, step by step
Prise off the decorative cap on top of the handle, usually with a small flat screwdriver. Undo the screw underneath and lift the handle off. You may then see a metal cover, called a shroud; unscrew or lift that too. Now you will see a large nut, called the headgear nut. Hold the tap body steady with one hand, or with a second spanner, so you do not twist the pipes, then undo the nut with an adjustable spanner. Lift out the headgear. The washer is on the bottom. It is either held on by a tiny nut, or simply pushed onto a small stem. Take the old washer to a plumbers’ merchant or hardware shop and buy the same size. Most kitchen and basin taps take a half-inch washer; bath taps usually take a larger three-quarter-inch one. Fit the new washer, put everything back in reverse order, and turn the water back on slowly.
How to fix a dripping ceramic disc (quarter-turn) tap
Take the handle and any cover off in the same way. Undo the cartridge with a spanner, holding the tap body steady, and pull it out. First, look at the rubber seal on the bottom of the cartridge. If it is split or out of place, a new seal may be all you need. If the discs themselves are chipped or scratched, replace the whole cartridge. Cartridges are not all the same. They differ in length, in the number of small teeth (splines) on the spindle, and in whether they turn clockwise or anticlockwise to open. Hot and cold are often opposite hands. Take the old one with you to the shop so you can match it exactly. Push the new one in, tighten it firmly but not hard, and refit the handle.
What about a dripping mixer tap?
A mixer tap with two handles is simply two taps sharing one spout. Work out which side is dripping by turning off one isolation valve at a time and watching the spout. Then fix that side as a washer or cartridge tap. A single-lever mixer has one cartridge controlling both hot and cold, and the job is the same as for a ceramic disc tap. If water leaks from around the base of a swivel spout rather than dripping from the end, the cause is usually the small rubber rings (O-rings) that seal the spout. Lift the spout off, replace the O-rings, and add a smear of plumbing silicone grease before refitting.
Still dripping after a new washer? Check the valve seat
If a new washer does not stop the drip, look down into the tap body with a torch. The brass ring the washer presses against is called the valve seat. Years of water and grit can wear a groove or pit into it, so even a new washer cannot seal. You can buy a cheap reseating tool that grinds the seat flat again, or a nylon seat-and-washer kit that sits over the damaged one. If the tap is old and the seat is badly worn, replacing the whole tap is often the better use of your money.
When to call a plumber about a dripping tap
Call someone if the isolation valve or stopcock will not turn, if the headgear nut will not move without the pipes twisting, or if the tap body itself is cracked. Forcing a seized nut can snap an old pipe under the sink, which turns a drip into a flood. Our rate is £99 for the first hour and £49 for each extra half hour, plus the cost of parts, with no call-out fee. Most tap repairs fall within the first hour.
Questions people ask
Why is my tap still dripping after changing the washer?
The valve seat, the brass ring the washer presses against, is probably worn or pitted. A new washer cannot seal against a damaged seat. A cheap reseating tool or a nylon seat-and-washer kit usually fixes it; on an old tap, a replacement tap can be better value.
How do I know if my tap has a washer or a cartridge?
Count the turns from fully off to fully on. If the handle goes round more than once, it is a washer tap. If it stops after a quarter or half turn, it is a ceramic disc tap with a cartridge inside.
Do I need to turn off the water to fix a dripping tap?
Yes. Turn the isolation valve under the sink a quarter turn with a flat screwdriver, or close the main stopcock if there is no isolation valve. Then open the tap to drain the last of the water before you start.
Are all tap cartridges the same?
No. They differ in length, in the number of teeth on the spindle, and in which way they turn to open, and hot and cold are often opposite. Take the old cartridge to the shop so you can match it exactly.
Can a dripping tap be left alone?
It will not fix itself and usually gets worse as the washer or seals wear further. A dripping hot tap also wastes the energy used to heat the water. It is a cheap repair, so it is worth doing soon.