
Are you tired of that old, dull kitchen tap? Looking to upgrade to a sleek and modern mixer tap? Well, you’re in luck! In this article, we will provide you with a complete guide on how to easily install a kitchen tap. Whether you’re a beginner or a DIY enthusiast, this step-by-step guide is perfect for anyone looking to make a quick difference in their kitchen. So, let’s get started!
What You’ll Need for How to install a tap
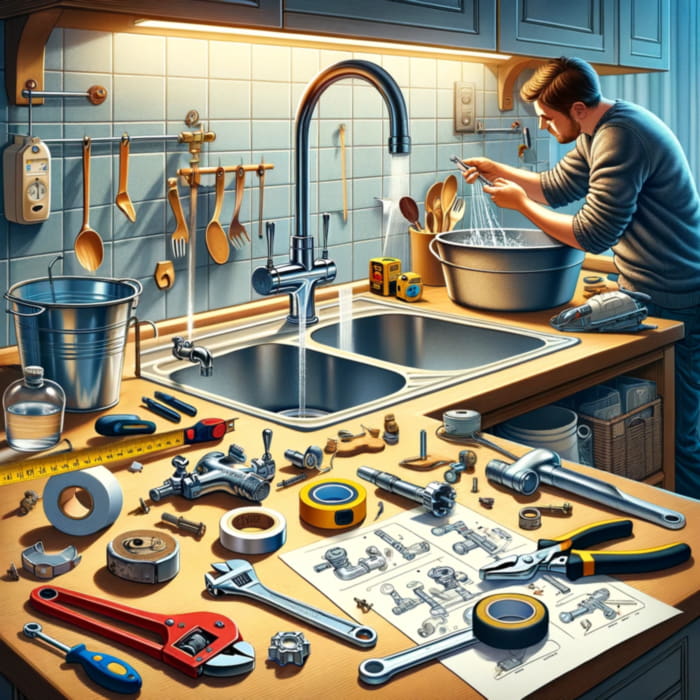
Before we dive into the installation process, let’s go through the tools and materials you’ll need to have on hand:
- Main water supply
- Tape measure
- Spanner
- Adjustable wrench
- Pillar tap fixing studs
- Flexible hose connector
- Washer
- Plumber’s tape
- Bucket or basin
By gathering these items beforehand, you’ll be fully prepared to tackle the installation process.
Step 1: Switch Off Your Water Supply
Before you begin, it’s important to switch off your water supply to prevent any leakages. Locate the main water shut-off valve and turn it off. This precautionary step will ensure a smooth and hassle-free installation process.
Step 2: Remove Your Old Tap
Now it’s time to remove your old tap. Start by turning on the tap to stop any water flow. Next, use a spanner or wrench to loosen and unscrew the back nut connecting the tap to the basin or sink. Once the nut is removed, gently lift the old tap and remove it from the tap hole.
Step 3: Prepare the New Tap
Before installing your new tap, make sure to read the instruction manual provided by the manufacturer. This will give you a better understanding of the specific steps needed for your particular tap model.
Step 4: Install the New Tap
Now it’s time to install your new kitchen tap. Start by positioning the tap in the right position on the basin or sink. Use the mounting plates and fix the tap firmly using the pillar tap fixing studs provided. Make sure the tap is secure and tightened properly using a spanner or wrench.
Step 5: Connect the Water Supply
After securing the tap, it’s time to connect the water supply. Attach the flexible hose connector to the tap tails and tighten it using an adjustable wrench. Ensure that there aren’t any leakages by using a washer and plumber’s tape to seal the connection.
Step 6: Turn on the Water Supply
Now that your new tap is installed and the water supply is connected, it’s time to turn on the water. Slowly open the main water shut-off valve and let the water flow through the tap. Check for any leakages or issues and make adjustments if necessary.
Which type of taps are best?
The type of taps that are considered best often depend on specific needs and preferences. However, in general, mixer taps are highly recommended. They’re easy to use, providing hot and cold water from a single spout, allowing you to easily adjust the temperature. Plus, they come in numerous stylish designs suitable for different types of bathrooms or kitchens.
Are there different types of taps?
Yes, there are various types of taps depending upon their use and design. These include pillar taps, mixer taps, monobloc taps, and sensor taps. The difference lies in their mechanisms, the way they deliver water, the type of valves they use, and their aesthetic appeal. Each has unique features suited to specific needs and settings.
Does a boiling water tap need electricity?
Yes, a boiling water tap does require electricity to function. It uses an electrically powered heating element to rapidly heat the water to boiling point on demand. Besides, it often features thermostatic controls for temperature regulation. So, it needs to be connected to both a water supply and an electricity supply.
Conclusion
Installing a new kitchen tap doesn’t have to be a daunting task. By following these simple steps, you can easily upgrade your kitchen and make a quick difference in its overall look and functionality. Remember to gather all the necessary tools and materials, switch off your water supply, remove your old tap, prepare the new tap, install it securely, connect the water supply, and finally, turn on the water. With a little planning and these easy steps, you’ll have a brand new kitchen tap in no time!
So, what are you waiting for? Get ready to transform your kitchen and enjoy the benefits of a new tap. Happy installation!